
How to migrate or import your integrations into Unified.to
October 25, 2024
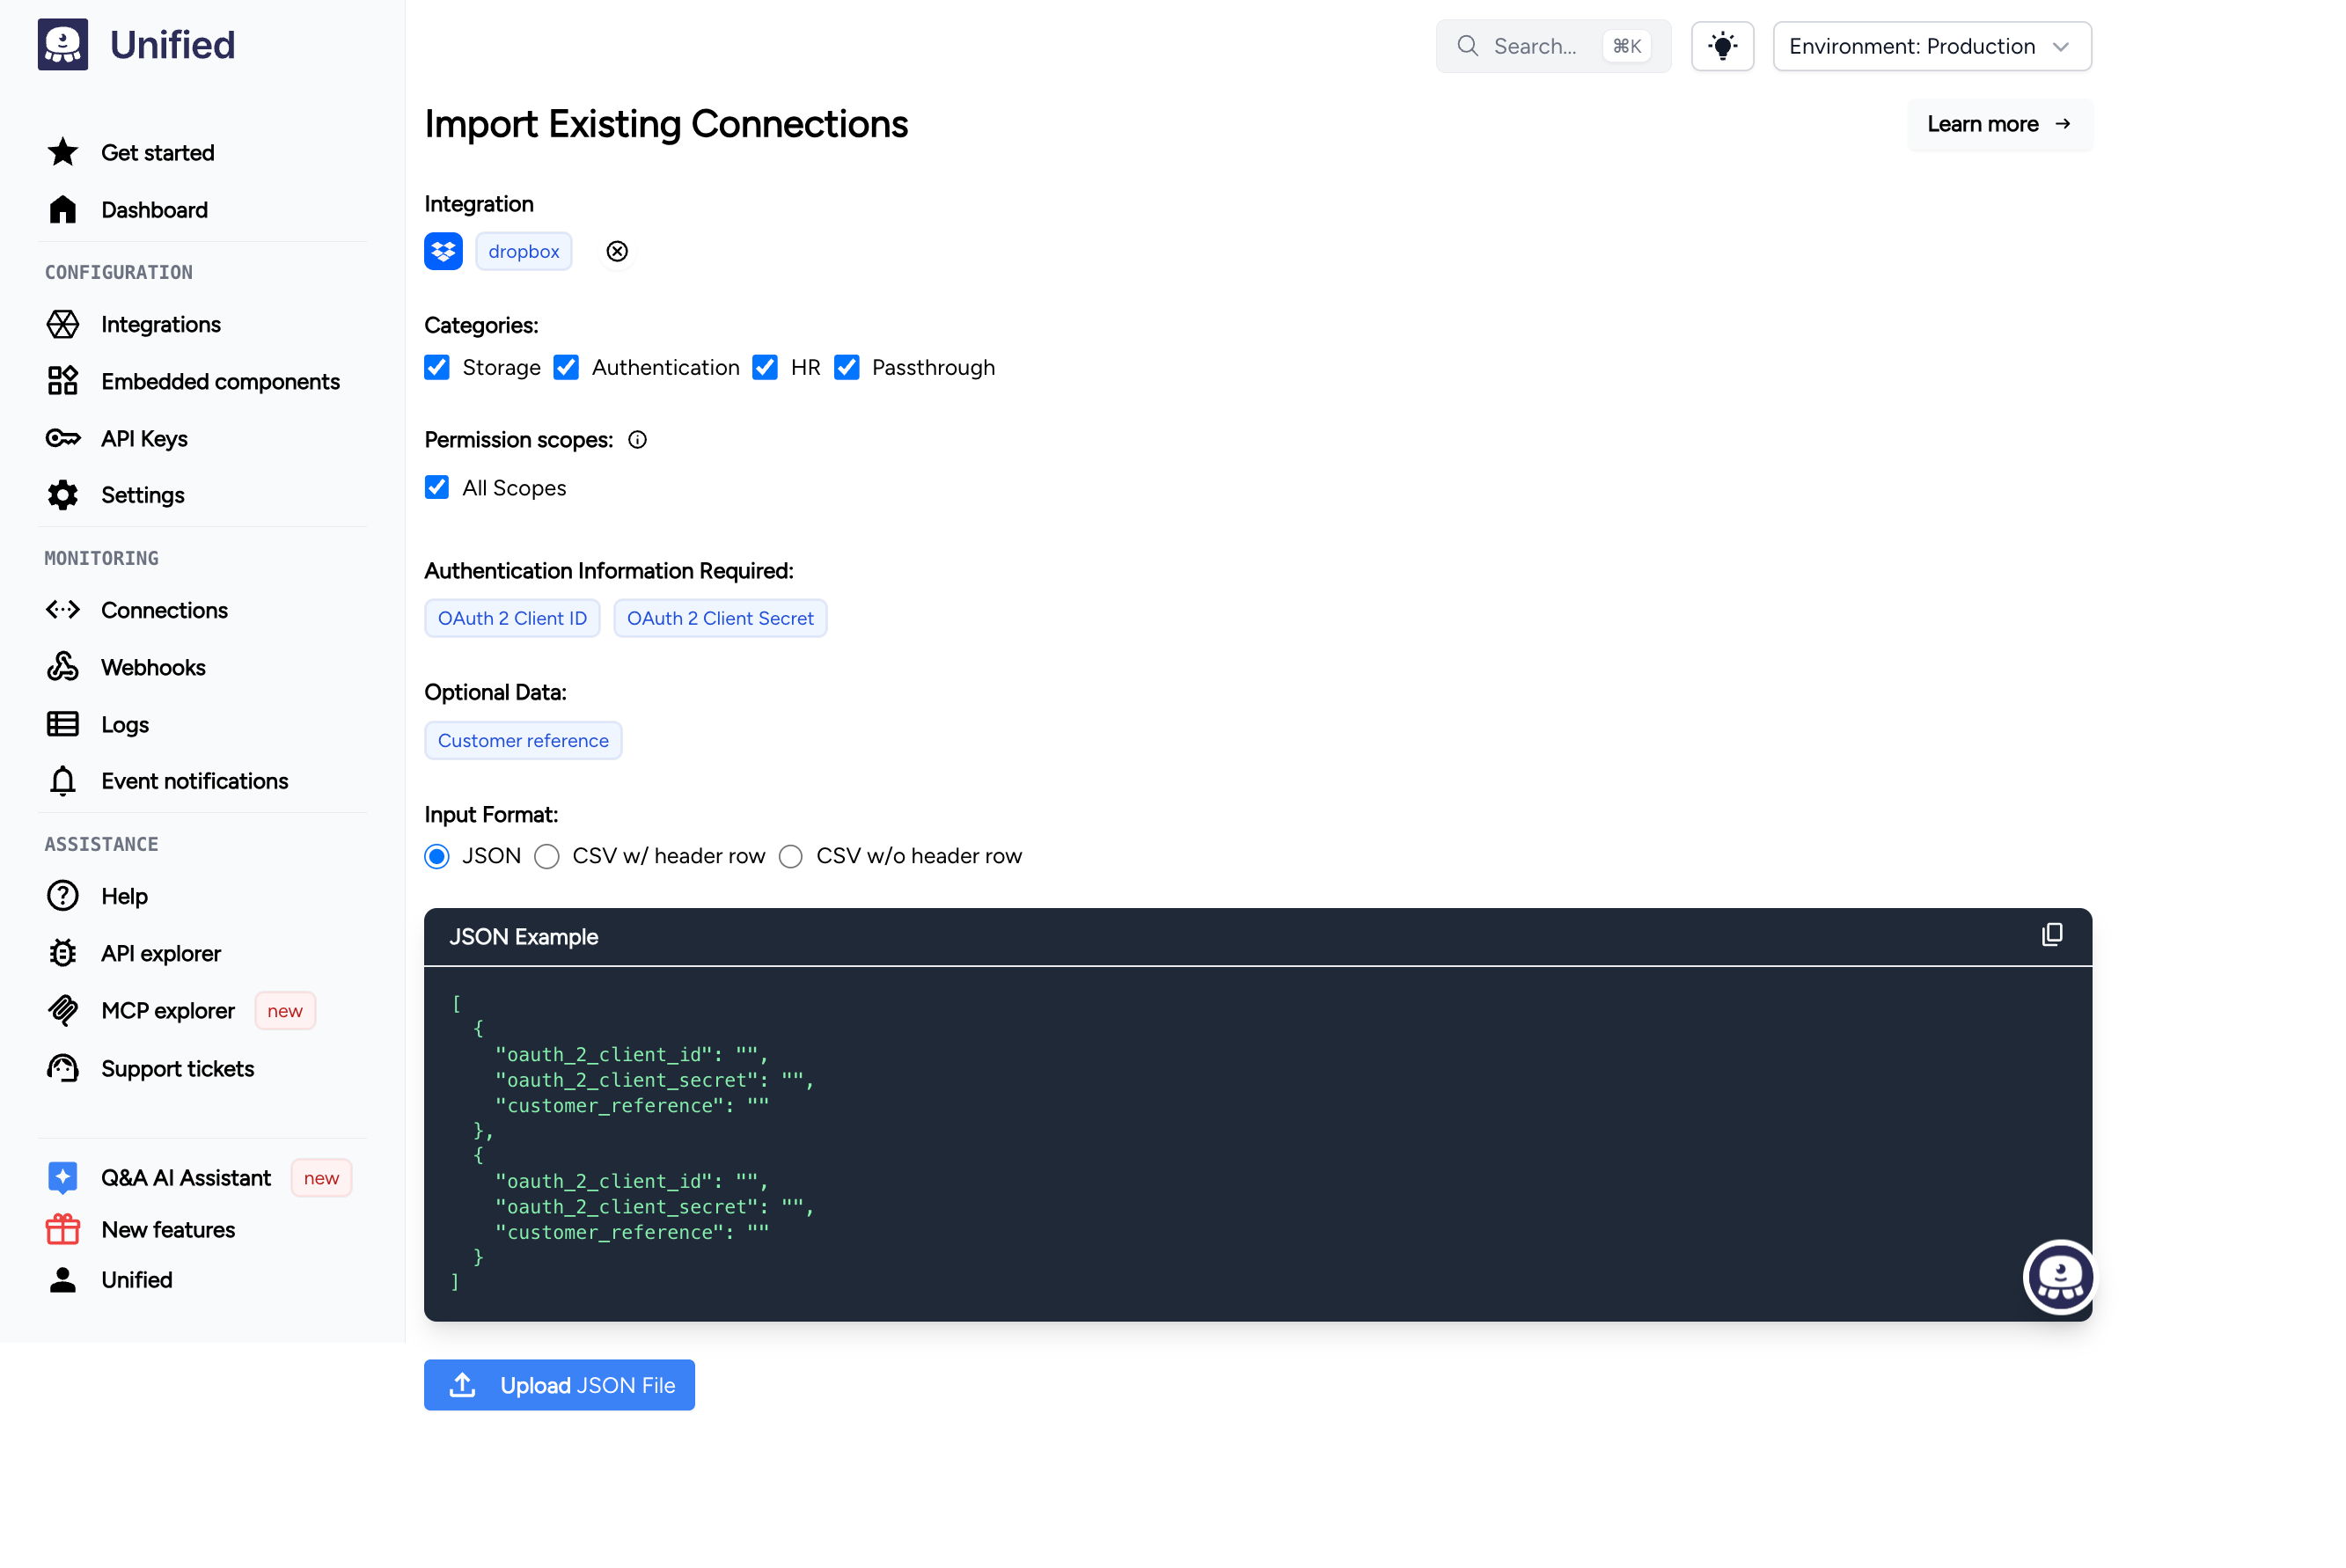
This guide explains how to import your existing integrations into Unified.to, effectively creating new connections using your existing customer credentials. A connection is a secure link between your application and your customer's third-party account.
While connections are typically created through an auth flow where users grant access through the provider's authorization page, you can also create connections by importing existing credentials that your customers have already provided to you.
When to use import (vs Unified OAuth)
Use POST /unified/connection (import) only when you already hold end-user credentials—for example migrating from another platform, or completing OAuth on your own callback (BYO redirect) and then creating the Unified connection.
- Do not paste your app
client_id/client_secretinto Import Connections. Those are workspace activation credentials (Activate Integration), not per-connection end-user tokens. - For new end-user connects where Unified can host the OAuth callback, prefer Authorize new connection or the embedded auth component.
Before you begin
This guide assumes you have:
- A Unified.to account.
- Existing customer credentials for the integrations you want to import.
- Basic understanding of REST APIs, authentication flows, and connections.
Understand the authentication types
Before importing your integrations, you need to determine which authentication type each integration uses. Unified.to supports two main authentication flows:
API token authentication
- Simple token: Requires a single token or key.
- Multi-field token: Requires multiple credentials (e.g. API key + domain).
OAuth 2 authentication
- Requires client credentials (client ID and secret).
- Requires access tokens and optional refresh tokens.
- May include additional user information e.g. emails, names.
Check instructions for the integration you want to import
The Unified.to Core API contains information that will help you determine what you need to successfully import your integrations.
- Make a GET request to the
/unified/integrationendpoint to get information about the integration you want to import, passing in the categories and/or names of the integrations you are interested in. - Check the following fields in the response:
token_names: Lists required credential fields for API token authentication.token_instructions: Provides guidance on where to find these credentials.
For example:
const baseUrl = 'https://api.unified.to/unified/integration';
const params = new URLSearchParams({
categories: ['ats', 'crm'].join(',')
});
const url = `${baseUrl}?${params}`;
// Make the request
fetch(url, {
method: 'GET',
headers: {
'Authorization': `Bearer ${YOUR_API_KEY}`,
'Accept': 'application/json'
}
})
.then(response => {
if (!response.ok) {
throw new Error(`HTTP error! status: ${response.status}`);
}
return response.json();
})
.then(integrations => {
// Loop through each integration and log its auth details
integrations.forEach(integration => {
console.log(`\n=== ${integration.name} ===`);
// Log token information if it exists
if (integration.token_names && integration.token_names.length > 0) {
console.log('Required credentials:', integration.token_names);
console.log('How to find credentials:');
integration.token_instructions?.forEach((instruction, index) => {
console.log(`${index + 1}. ${instruction}`);
});
} else {
console.log('No token credentials required (likely uses OAuth)');
}
});
})
.catch(error => {
console.error('Error fetching integrations:', error);
});
/* Example output:
=== ActiveCampaign ===
Required credentials: ["API Key", "Domain"]
How to find credentials:
1. Your API key can be found in your account on the Settings page under the "Developer" tab...
2. Your API URL can be found in your account on the My Settings page under the "Developer" tab...
=== HubSpot ===
No token credentials required (likely uses OAuth)
*/
API reference: Get all integrations.
Import an API token integration
For single-token integrations, construct your connection object:
{
"integration_type": NAME_OF_INTEGRATION,
"permissions": [PERMISSIONS],
"categories": [CATEGORIES],
"environment": "Production", // or any other non-sandbox environment
"auth": {
"token": "your_customer_token"
}
}
For multi-field token integrations, use the other_auth_info array:
{
"integration_type": NAME_OF_INTEGRATION,
"permissions": [PERMISSIONS],
"categories": [CATEGORIES],
"environment": "Production", // or any other non-sandbox environment
"auth": {
"token": "your_customer_token"
"other_auth_info": [
"first_credential",
"second_credential"
]
}
}
Important: The order of credentials in other_auth_info must match the order of the token_names from the integration instructions (see above).
Import an OAuth 2.0 integration
- Construct your connection object with the OAuth credentials:
{
"integration_type": "NAME_OF_INTEGRATION",
"permissions": ["PERMISSIONS"],
"categories": ["CATEGORIES"],
"environment": "Production",
"auth": {
"access_token": "customer_access_token",
"refresh_token": "customer_refresh_token",
"expires_in": 3599,
"api_url": "https://company.example.com",
"emails": ["user@example.com"],
"name": "User Name"
}
}
- Choose the redirect / callback model that matches your product:
Notes:
- Set
expiry_dateto the token's expiration date (if known) or today's date. - Include the authenticating user's email and name if available.
- Unified-hosted OAuth: set the provider redirect URI to
https://api.unified.to/oauth/code. - BYO / Marketplace callback: keep your own callback URL when the provider requires your app to own install (and often uninstall) on a single URL. Exchange the code on your server, then import the resulting tokens into Unified. Handle uninstall on your callback and call
DELETE /unified/connection/{id}.
Dual-auth integrations and company hosts
Some integrations support both OAuth and API-token auth, and/or return a per-tenant API host in the token response (commonly copied onto auth.api_url). For OAuth imports:
- Include
access_token/refresh_token(andexpires_inwhen known). - If the token response includes a company/instance URL, set
auth.api_urlto that value. Only send fields on the Unified connectionauthschema (e.g.api_url) — vendor-only field names may be rejected by validation. - Activate the integration in Unified with the same OAuth app
client_id/client_secretthat issued the tokens, so refresh works. - Omit
other_auth_infoon OAuth imports (see warning below).
⚠️ Dual-auth integrations (integrations that support both OAuth and API-token auth): do not include
other_auth_infoon an OAuth import. Ifother_auth_infois present, Unified uses API-token mode instead of Bearer, which can return 401 even when your OAuth tokens are valid. Useother_auth_infoonly for API-token imports (values intoken_namesorder).
Create the connection
Make a POST request to create the connection. Example using curl:
curl -X POST "<https://api.unified.to/unified/connection>" \\
-H "Authorization: Bearer YOUR_API_KEY" \\
-H "Content-Type: application/json" \\
-d '{
"integration_type": "your_integration_type",
"permissions": ["required_permissions"],
"categories": ["integration_category"],
"auth": {
// Your auth object here
}
}'
API reference: Create a connection
Test the imported connection
After creating the connection:
- Note the connection ID from the response.
- Make a test API call using the new connection ID to verify it works.
- If the call fails, check the error message and verify your auth credentials.
Best practices when importing a connection
- Always include relevant
permissionsfor the minimum set of data access you require. - Use a non-sandbox
environment. - Store the connection ID securely for future API calls.
- Consider adding
external_xrefto link the connection to your customer's ID. - Never mix OAuth tokens with
other_auth_infoon the same connection for dual-auth integrations. - If the provider returns a company/instance URL in the token response, include it as
api_urlon import.