
Connecting BambooHR via OAuth 2
July 28, 2026
BambooHR OAuth Setup Guide
Overview
First, register an application in the BambooHR Developer Portal to obtain OAuth credentials.
Next, configure those credentials in Unified.
After the setup is complete, your end users can authorize their own BambooHR accounts through your embedded Unified connection flow.
Part A — Set Up Your App in the BambooHR Developer Portal
One-time setup
1. Open the BambooHR Developer Portal
Go to:
https://developers.bamboohr.com/home/applications
Sign in to your BambooHR Developer Portal account.
2. Create a New Application
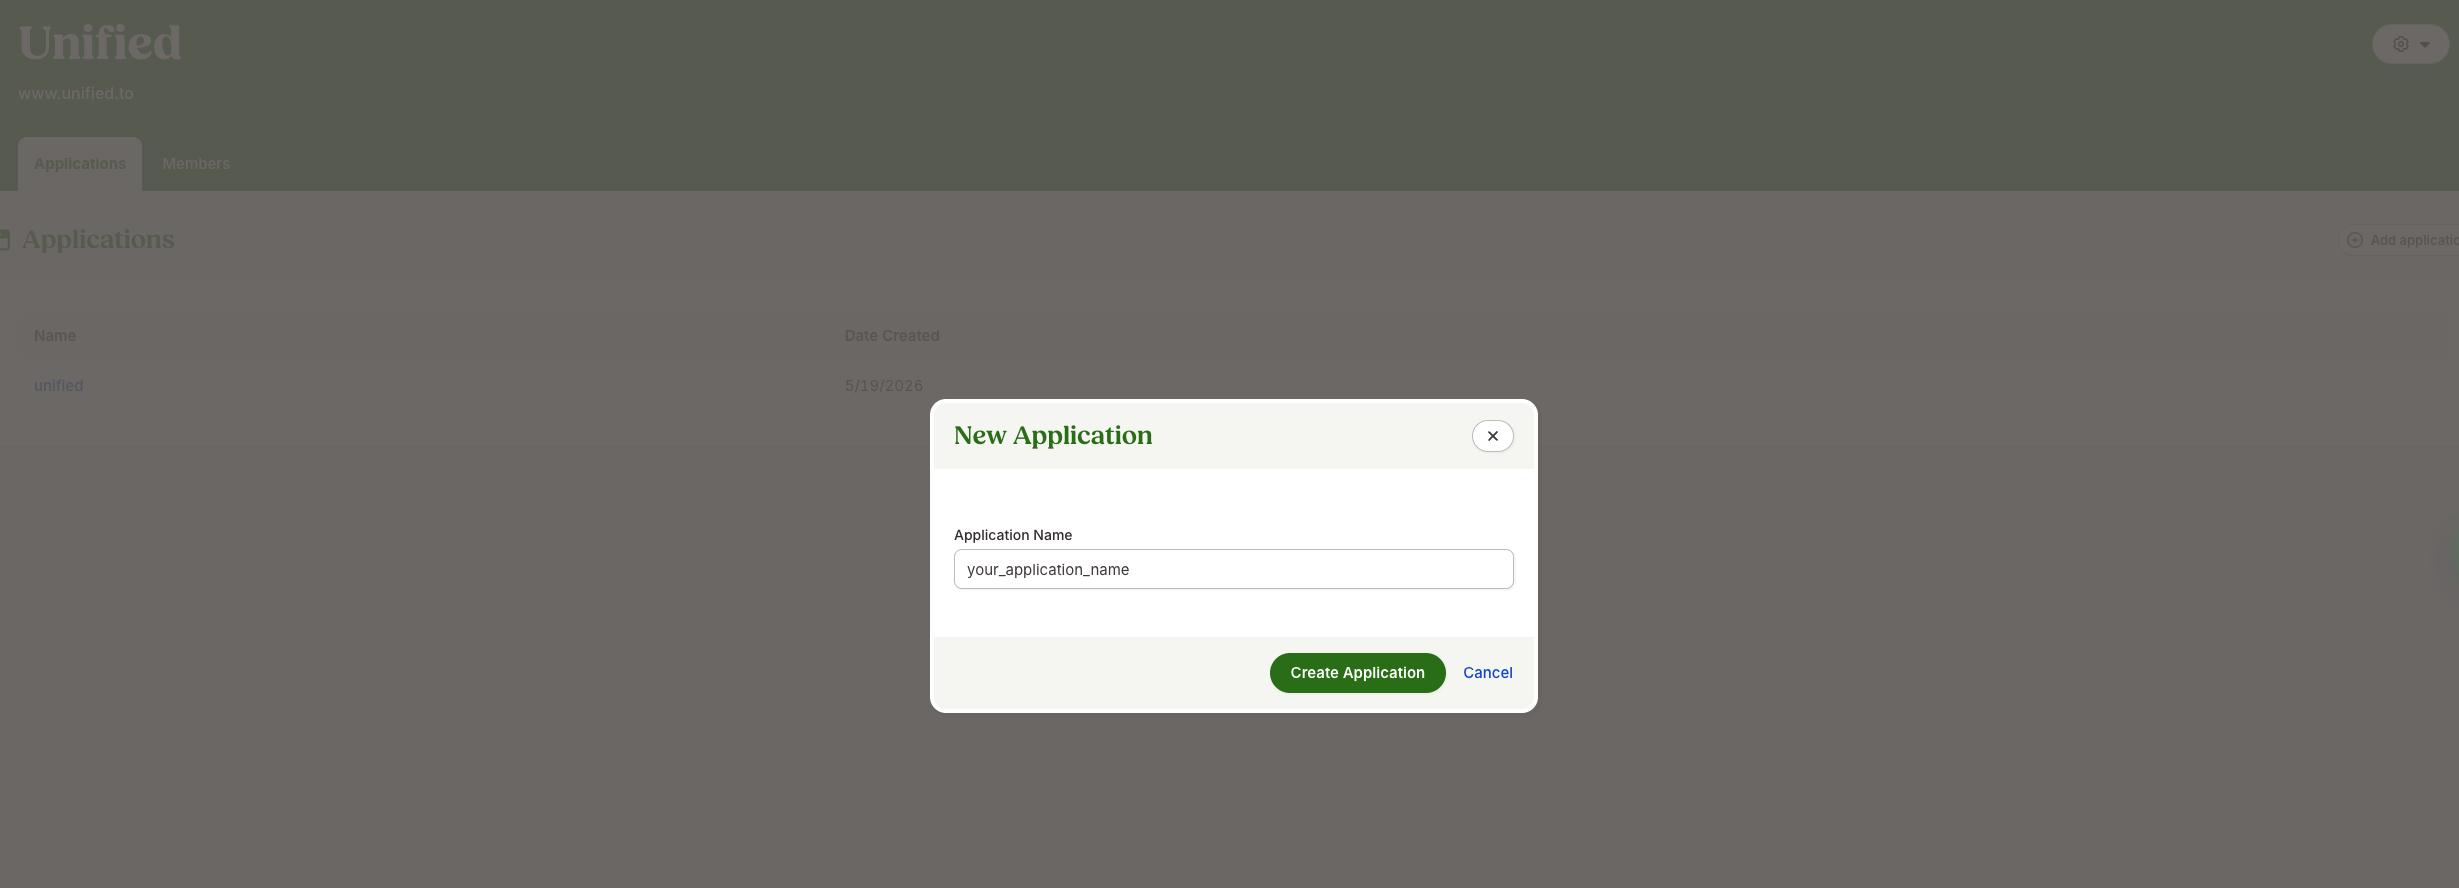
- Click Add application in the top-right corner.
- Enter an Application Name, for example:
unified - Click Create Application.
3. Collect Your Application Details
After creating the application, note the following values:
- Application Key
- Application ID
You will need the Application Key when configuring the integration in Unified.
4. Copy Your OAuth Credentials
Under App Credentials, copy the following:
- Client ID
- Client Secret
Use the eye icon to reveal the Client Secret.
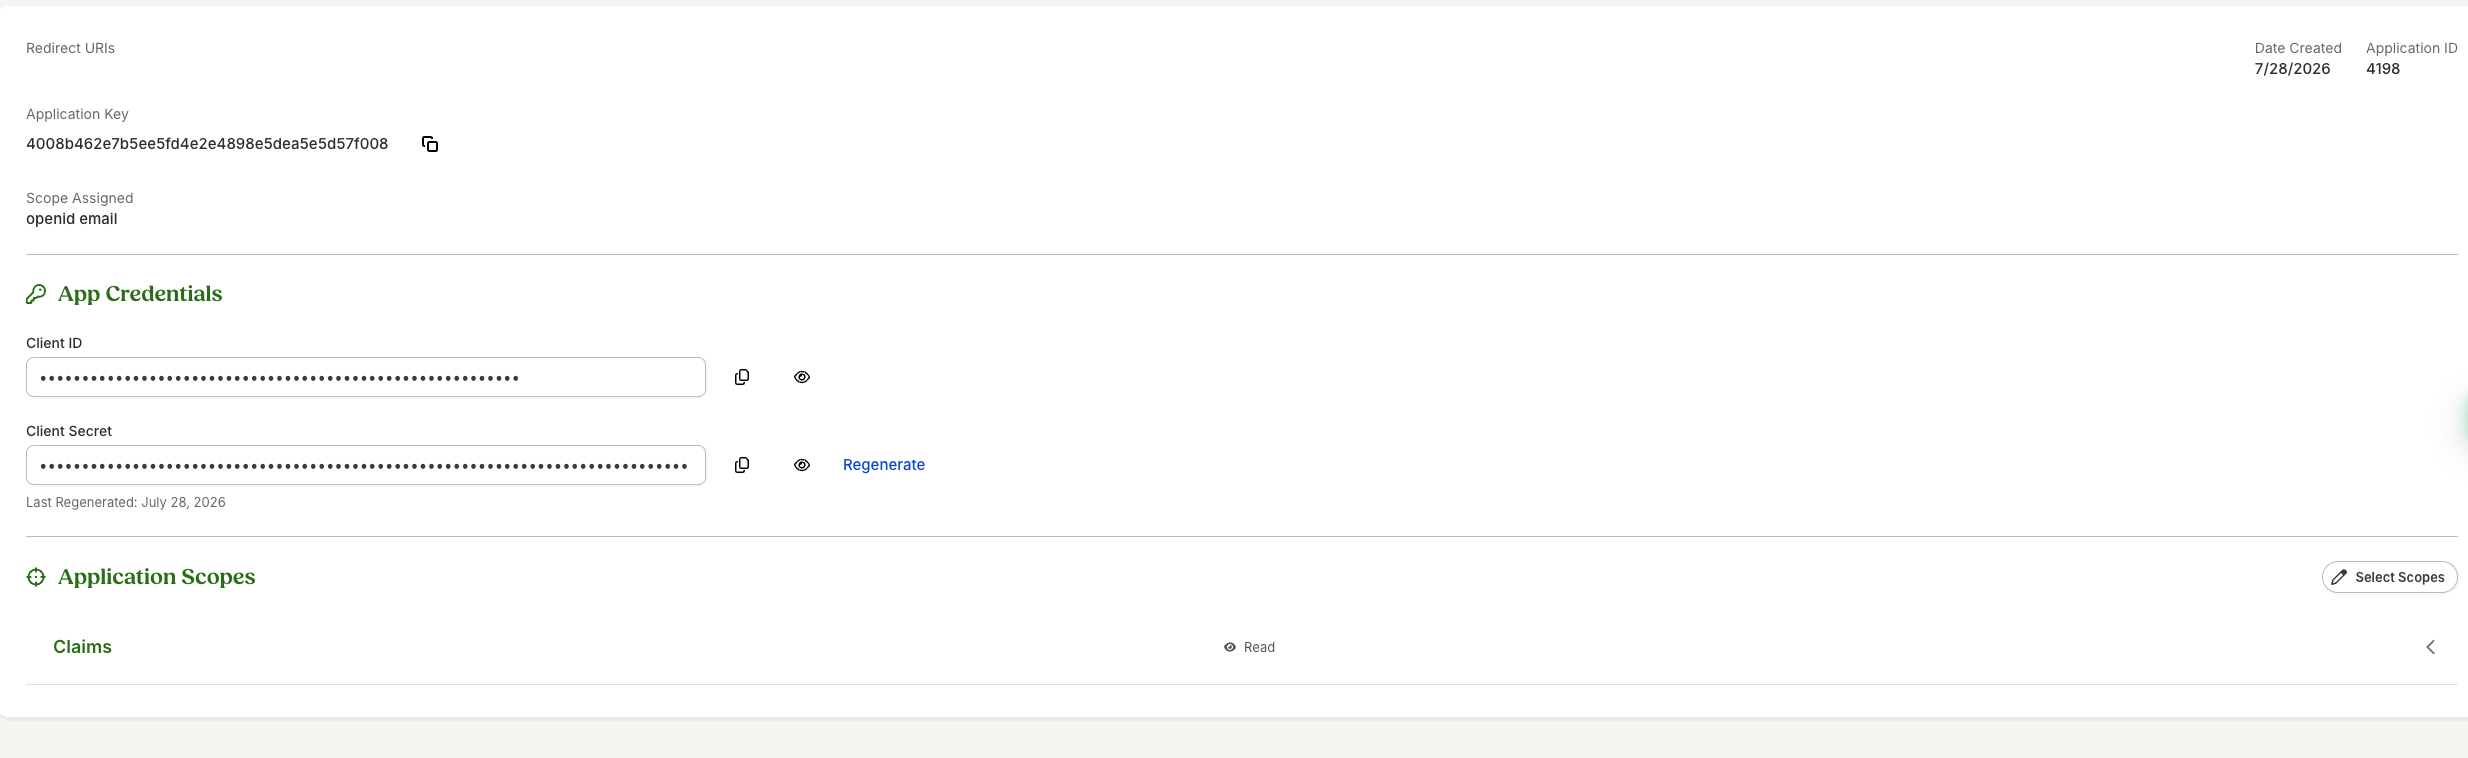
You can use Regenerate to create a new Client Secret when required.
Important: Treat the Client Secret like a password. If you regenerate it, you must also update the Client Secret in Unified.
5. Add the Redirect URI
Under Redirect URIs, add the OAuth callback URL provided by Unified.
6. Select the Required Scopes
Go to:
Application Scopes → Select Scopes
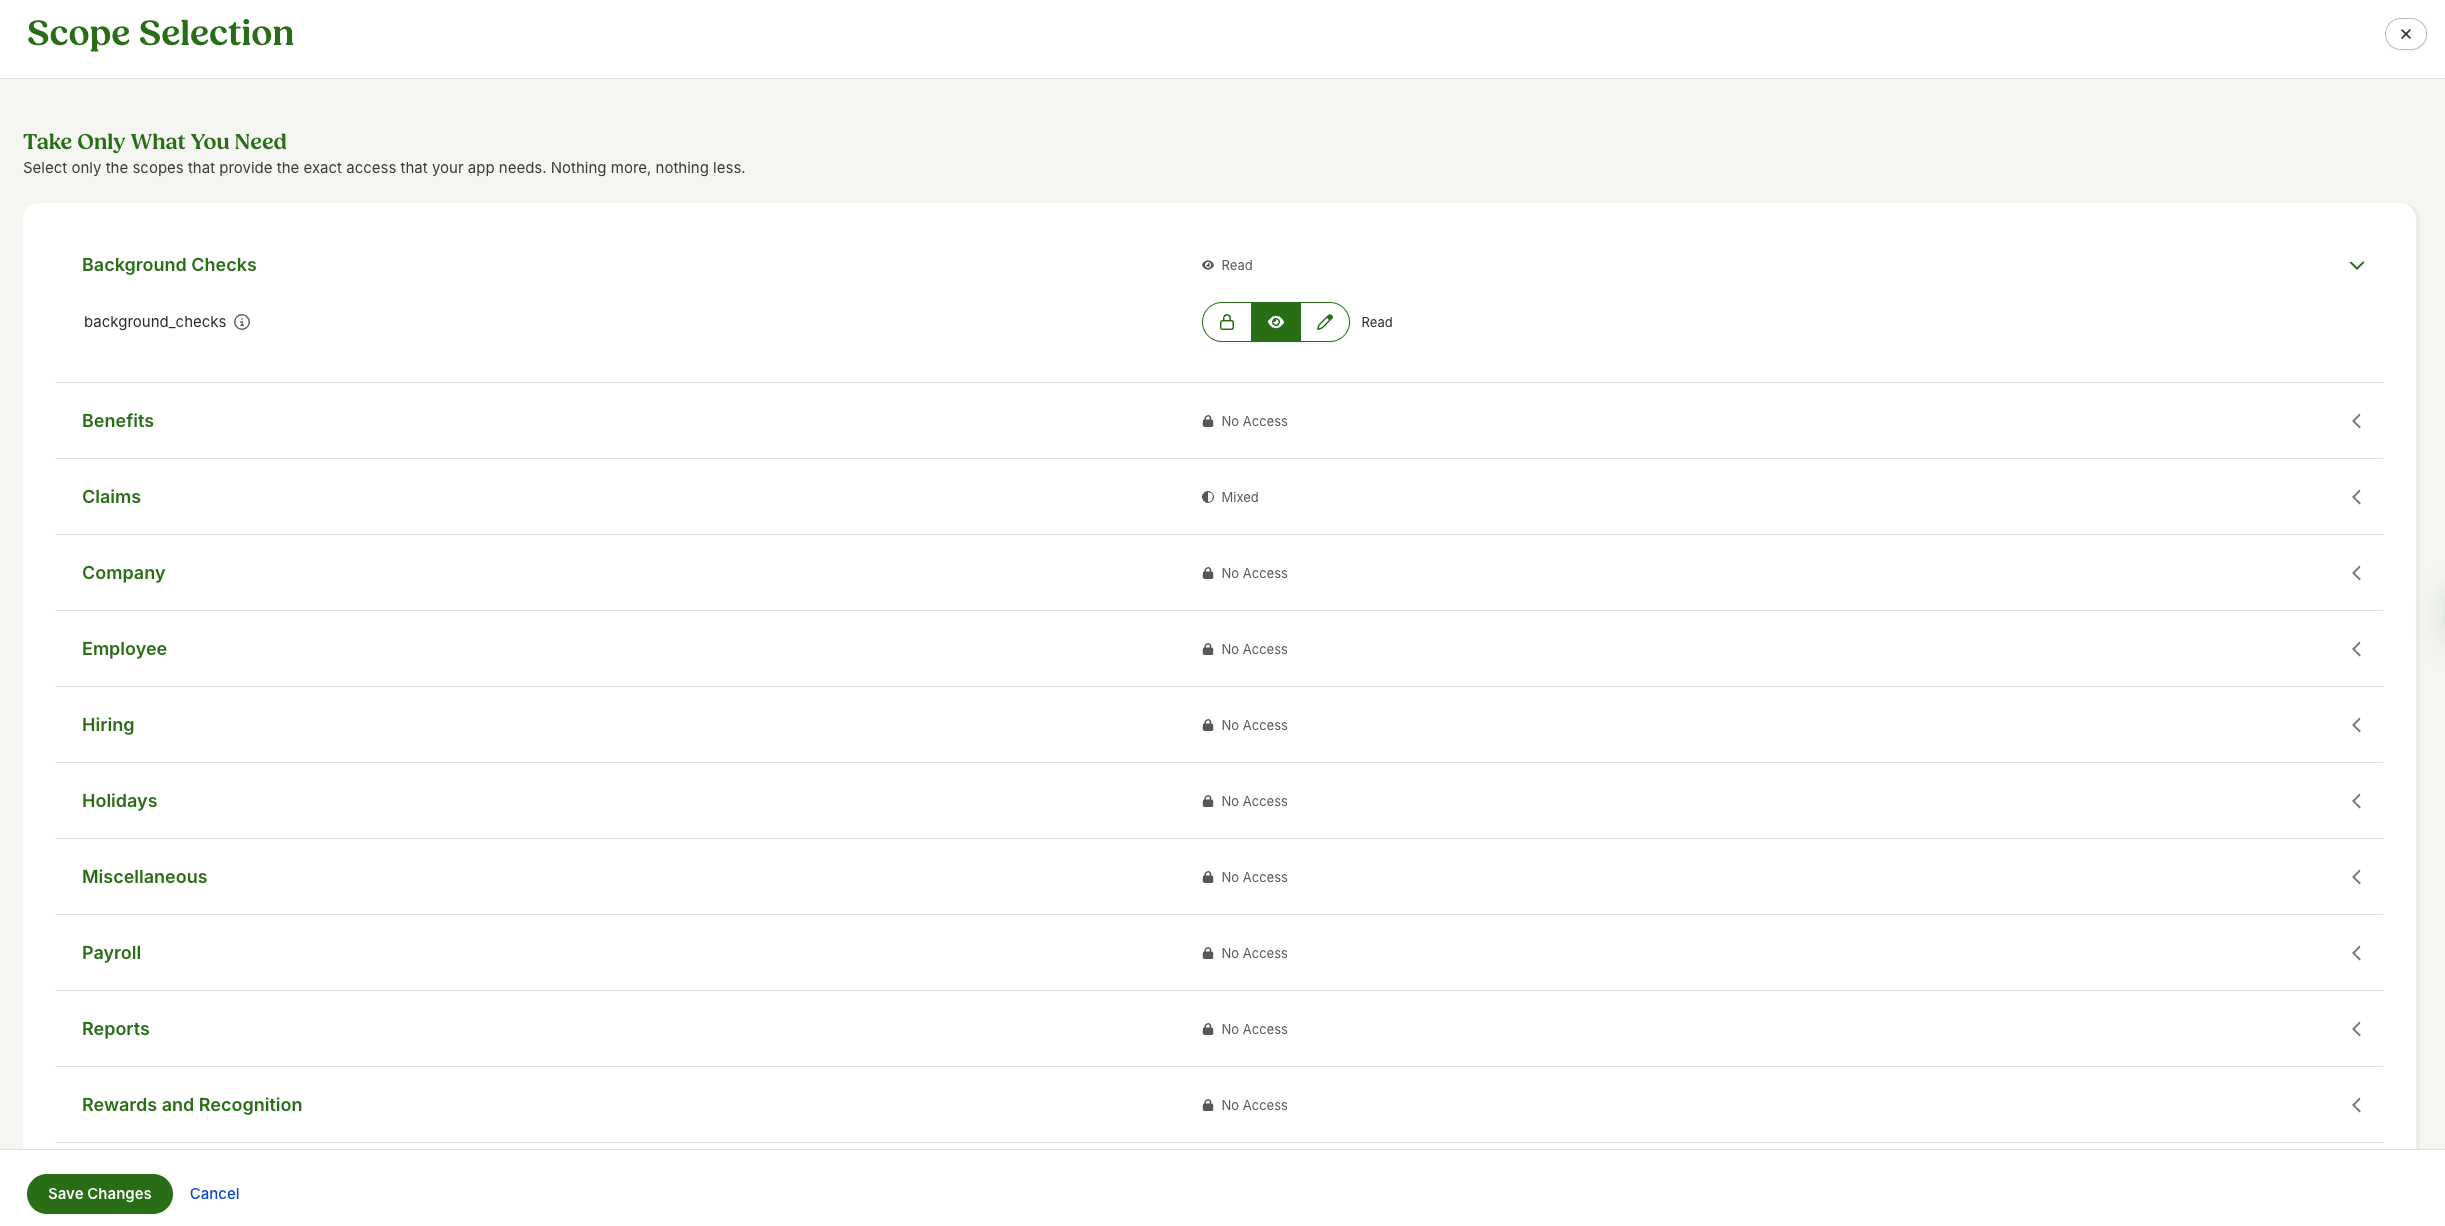
For each available category, such as Employee, Company, Hiring, Time Off, and Reports, choose the appropriate permission level:
- No Access
- Read
- Read / Write
Configure the following scopes as required by your implementation:
email
openid
company:info
company_file
company_file.write
employee
employee.write
employee:assets
employee:assets.write
employee:compensation
employee:compensation.write
employee:contact
employee:contact.write
employee:custom_fields
employee:custom_fields.write
employee:custom_fields_encrypted
employee:custom_fields_encrypted.write
employee:demographic
employee:demographic.write
employee:dependent
employee:dependent.write
employee:dependent:ssn
employee:dependent:ssn.write
employee:education
employee:education.write
employee:emergency_contacts
employee:emergency_contacts.write
employee:file
employee:file.write
employee:identification
employee:identification.write
employee:job
employee:job.write
employee:management
employee:management.write
employee:name
employee:name.write
employee:payroll
employee:payroll.write
employee:photo
employee:photo.write
employee:providers
employee:providers.write
employee:providers:payroll
employee:providers:payroll.write
employee:vaccination
employee:vaccination.write
employee_verifications
employee_verifications.write
goal
goal.write
onboarding
onboarding.write
performance:assessments
performance:assessments.write
performance:feedback
performance:feedback.write
performance:one_on_ones
performance:one_on_ones.write
sensitive_employee:address
sensitive_employee:address.write
sensitive_employee:creditcards
sensitive_employee:creditcards.write
sensitive_employee:protected_info
sensitive_employee:protected_info.write
tasks
tasks.write
hiring:applications
hiring:applications.write
hiring:job_openings
hiring:job_openings.write
offline_access
user
user.write
report
report.write
time_off
time_off.write
time_off:requests
time_off:requests.write
Part B — Configure BambooHR in Unified
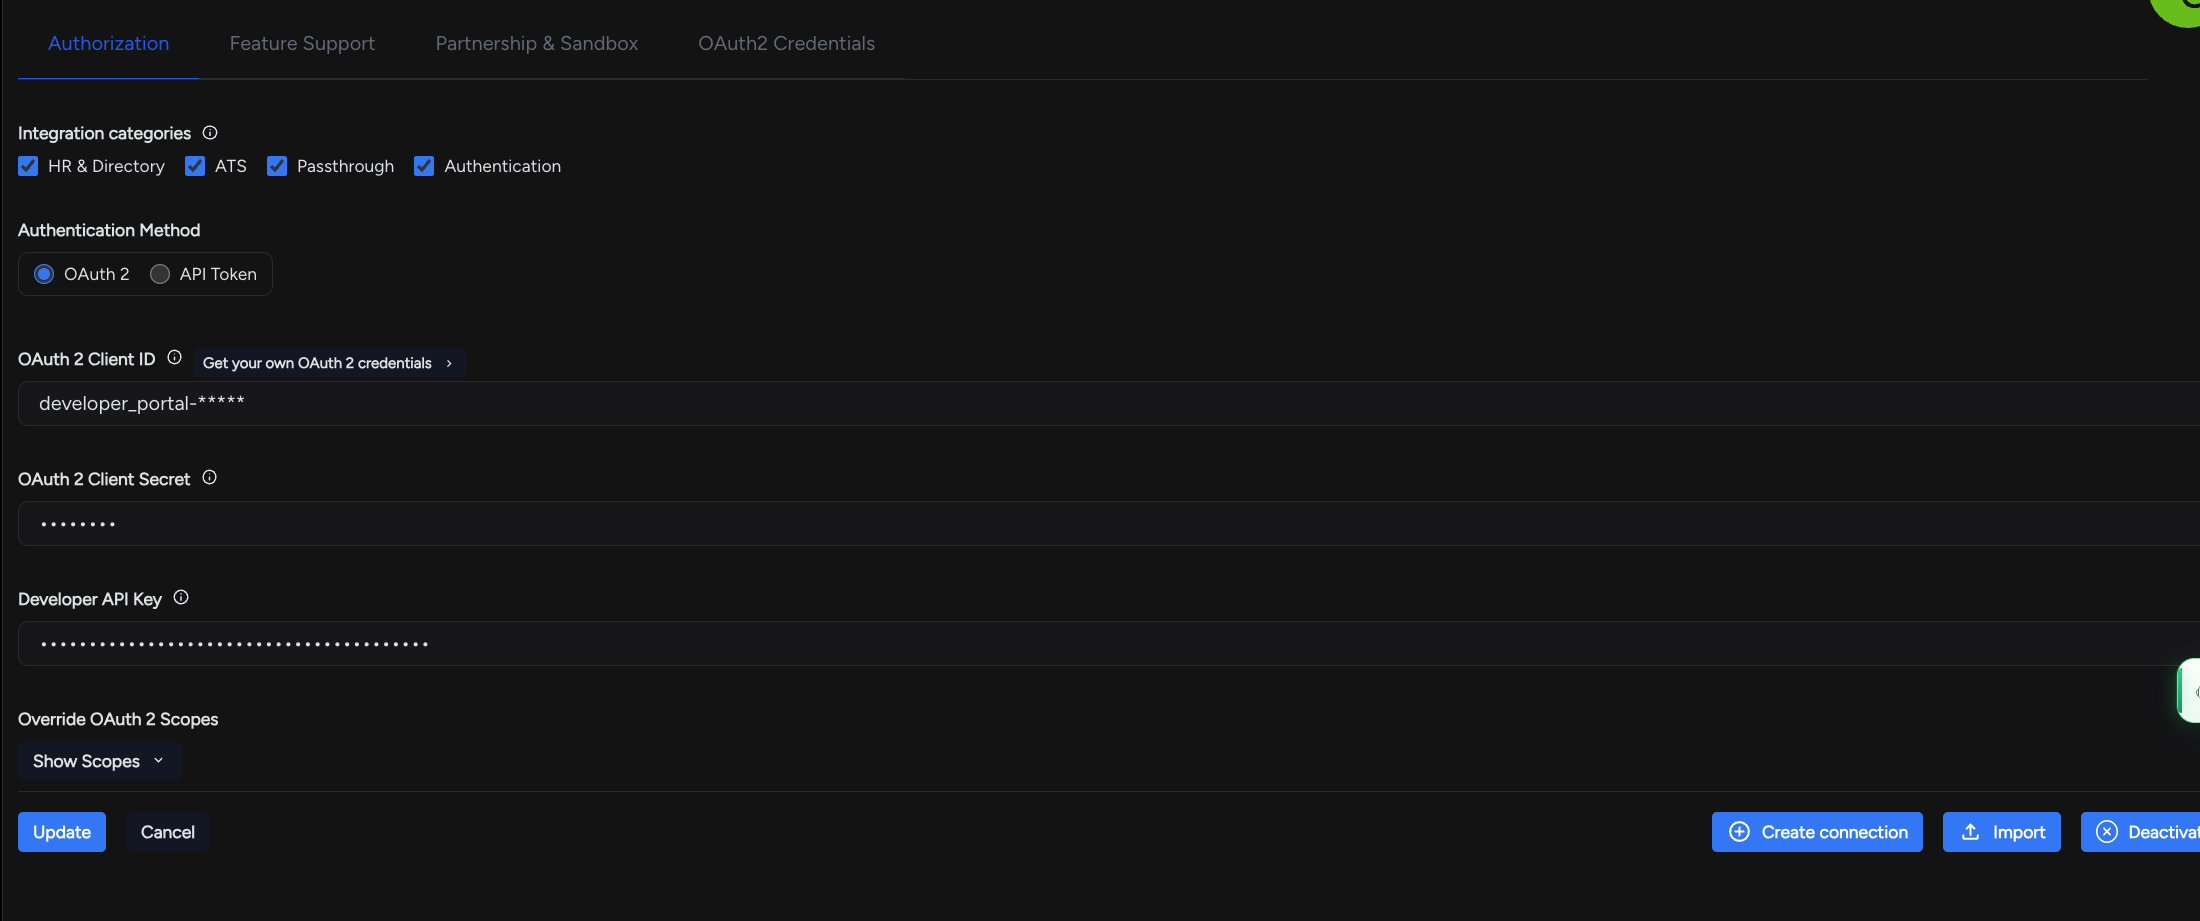
7. Configure the BambooHR Integration
In the Unified dashboard, go to:
Integrations → BambooHR → Authorization
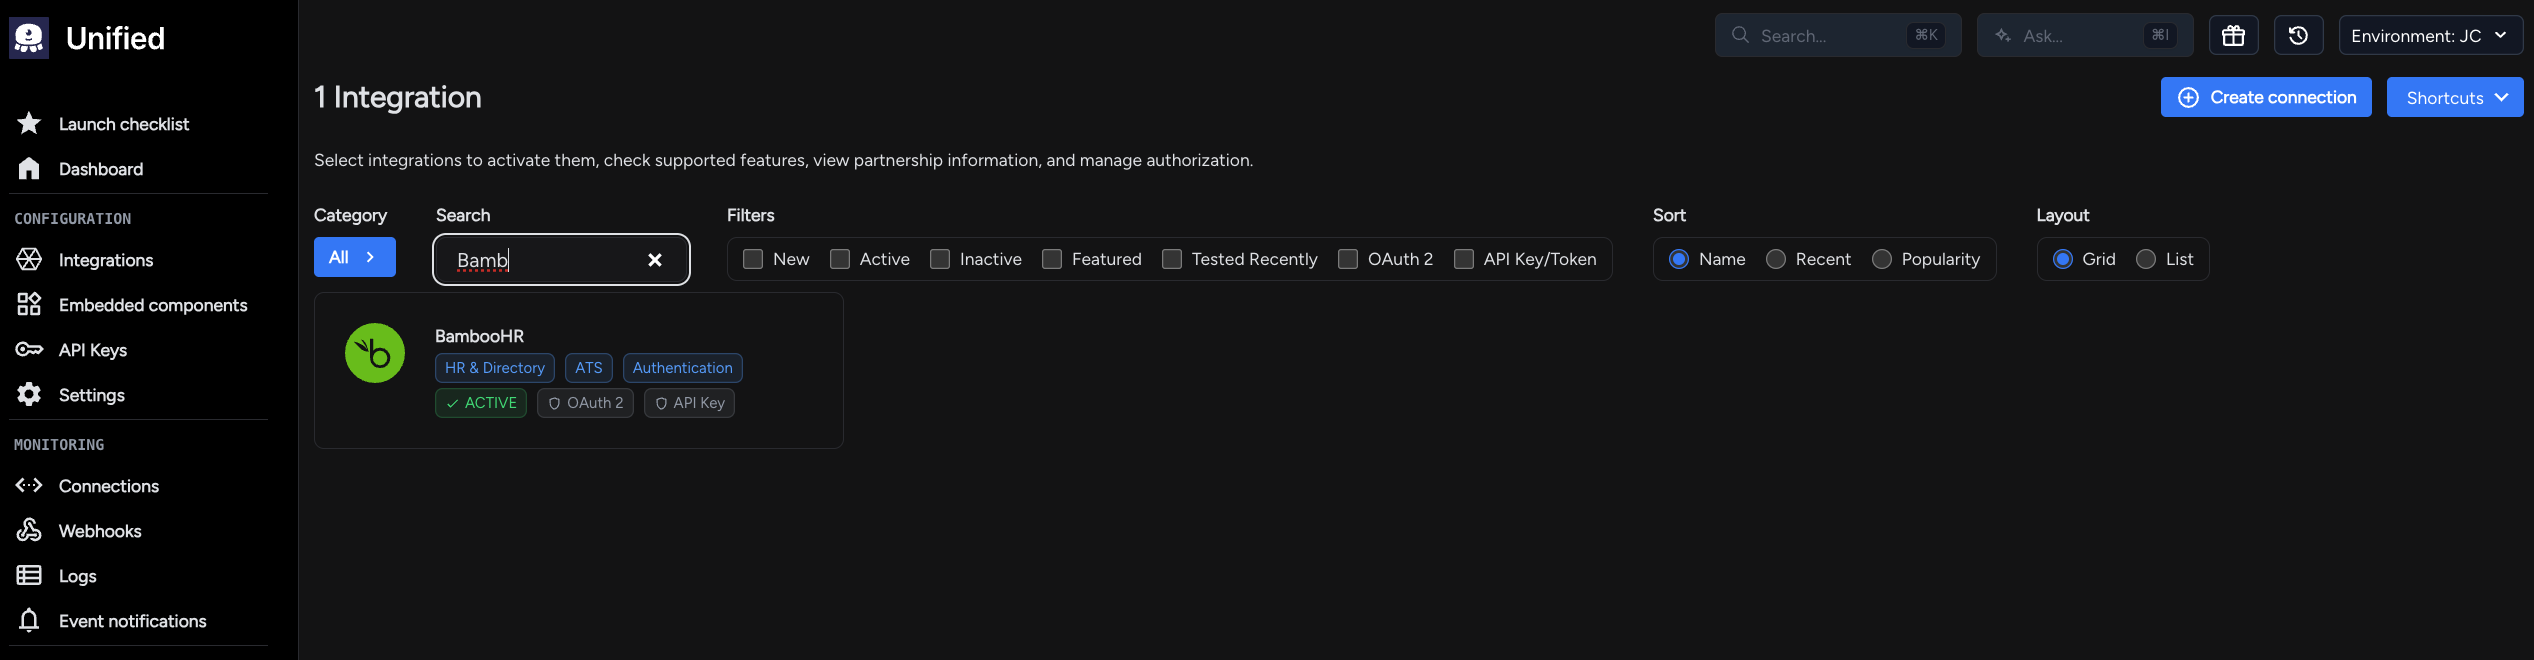
Configure the following fields:
- Set the authorization method to OAuth 2
- Paste the OAuth 2 Client ID from Step 4
- Paste the OAuth 2 Client Secret from Step 4
- Enter the Developer API Key
- Use the Application Key collected in Step 3
Click Update to save the configuration.
8. Configure the Embedded Component
In the Unified dashboard, go to:
Embedded components
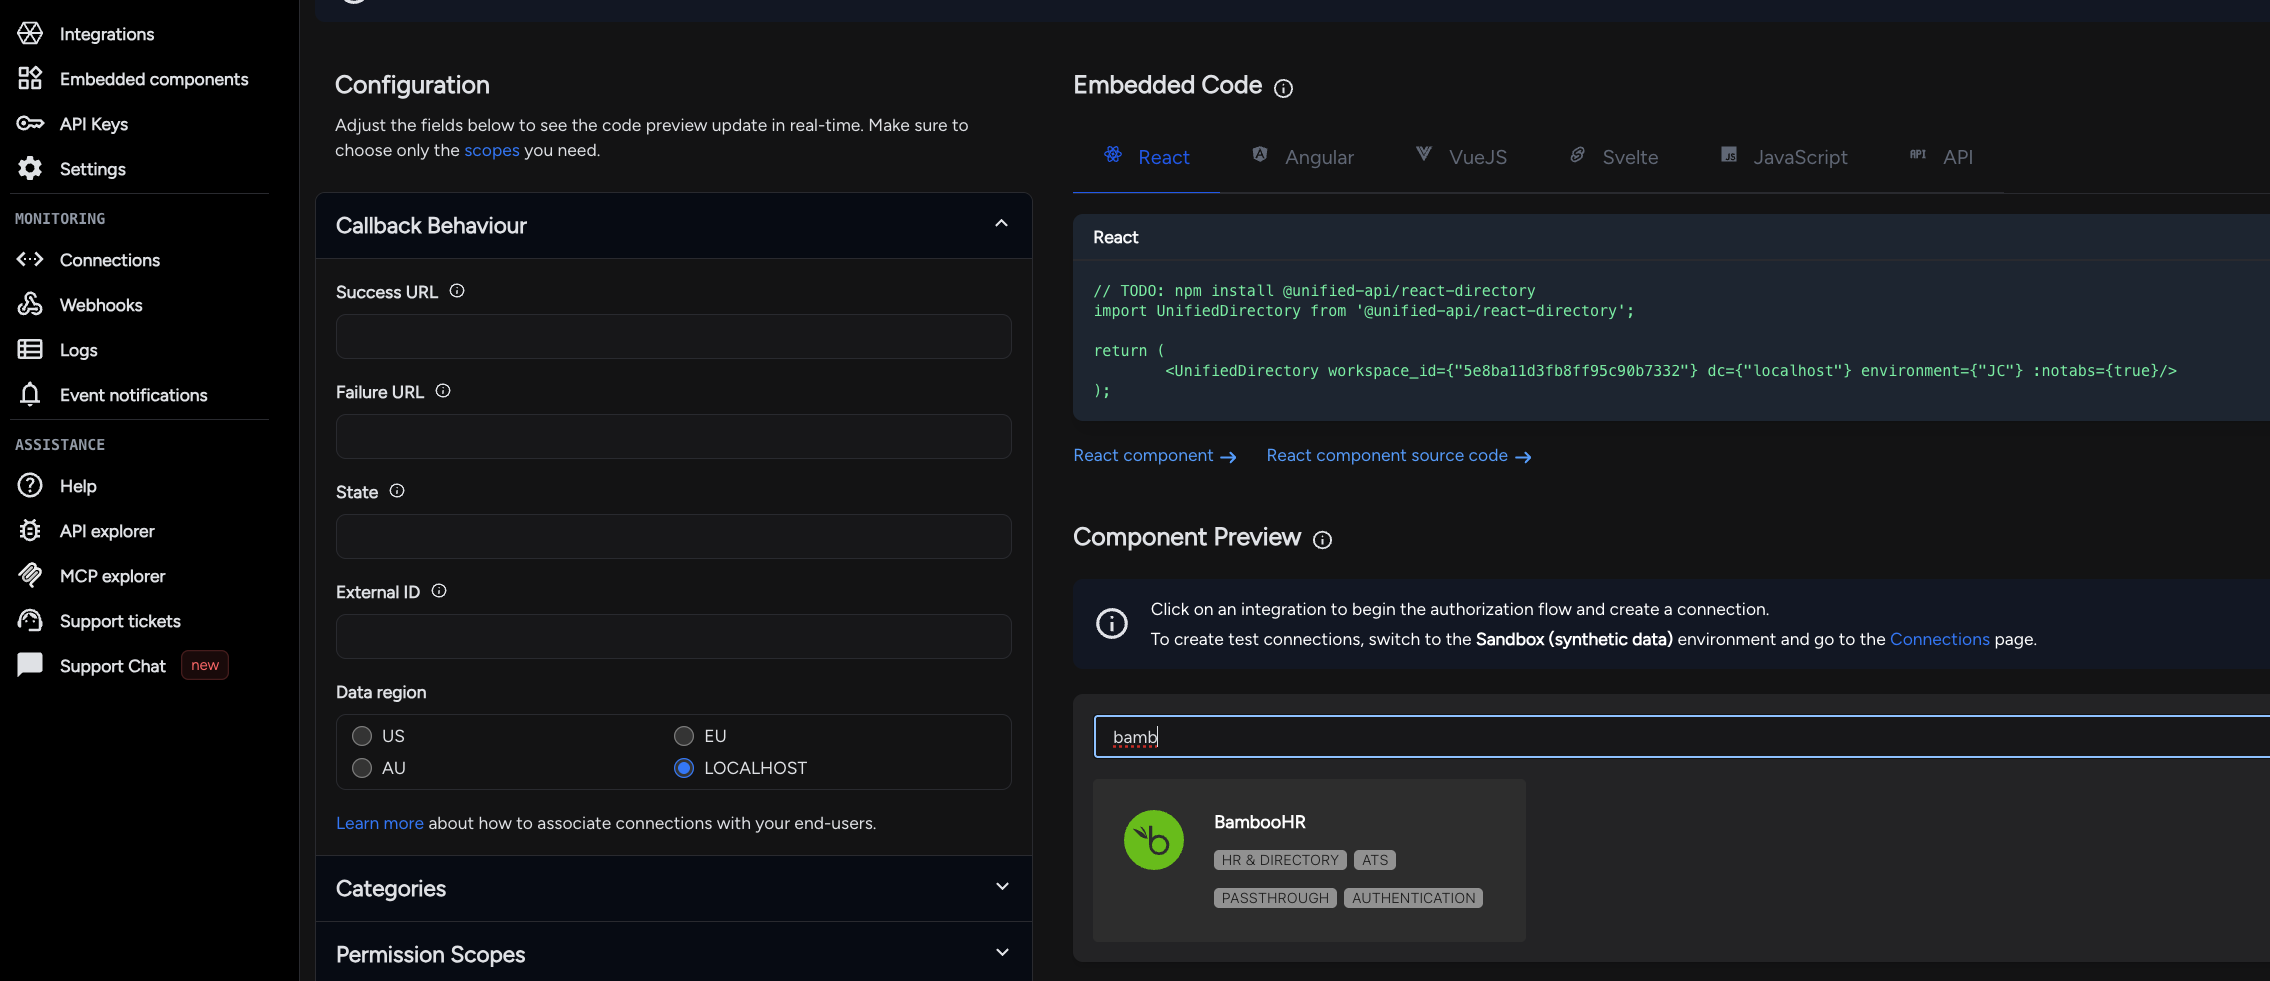
Configure the following settings:
- Success URL
- Failure URL
- Data region, such as:
- US
- EU
- AU
- Permission Scopes / Categories
Copy the appropriate embed code into your application.
Unified provides embed options for:
- React
- Angular
- Vue
- Svelte
- JavaScript
- API-based implementations
Part C — End-User Authorization Flow
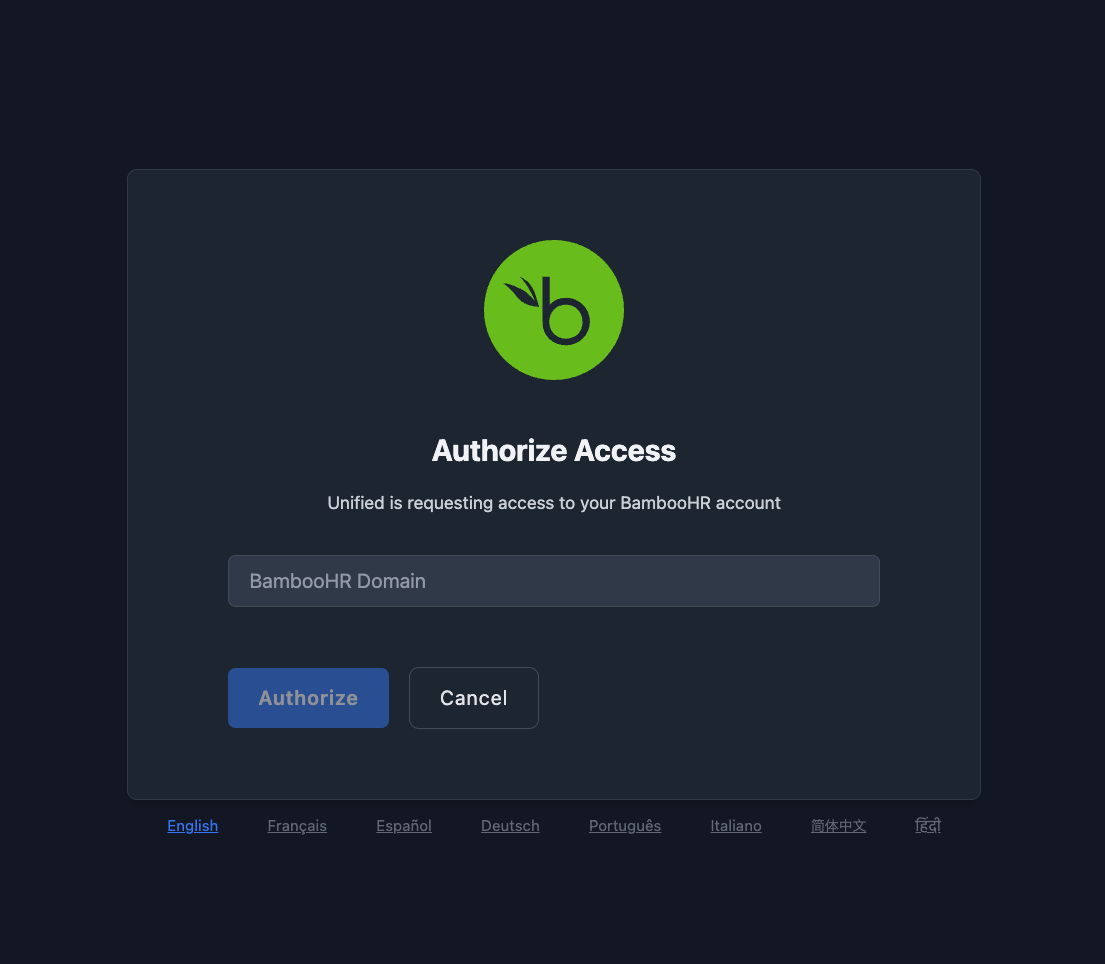
9. Enter the BambooHR Domain
In the embedded authorization flow, the end user sees the Authorize Access screen.
The user enters their BambooHR Domain and clicks Authorize.
10. Approve Access
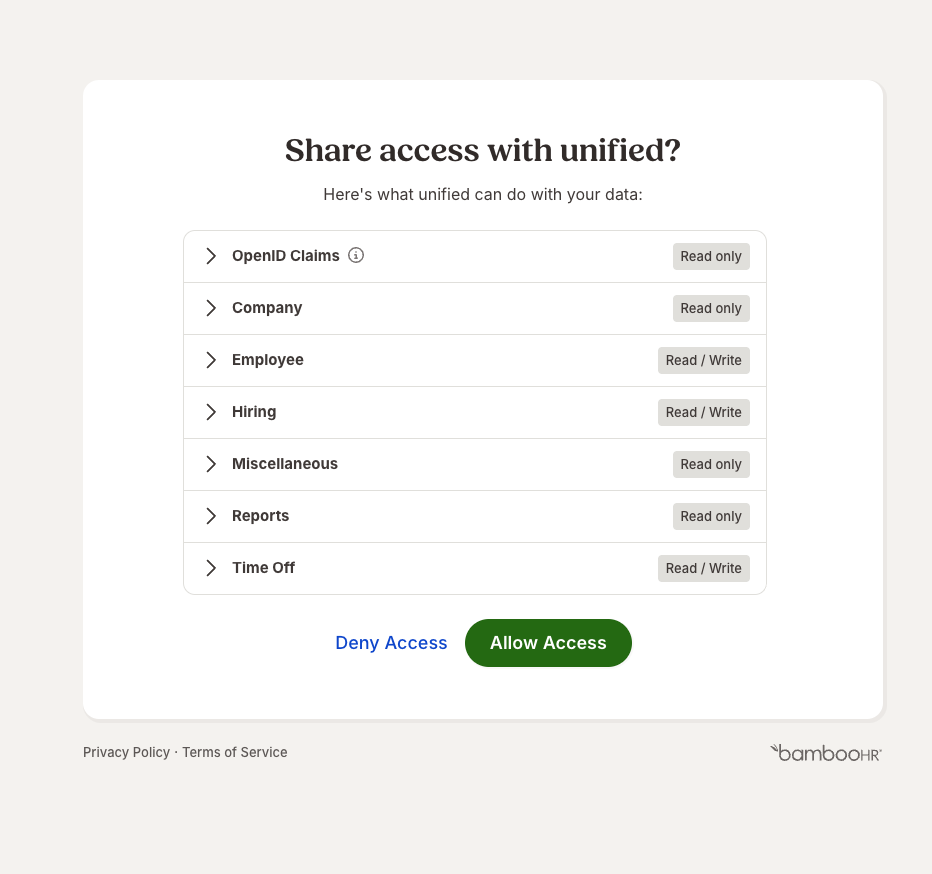
BambooHR displays a consent screen similar to:
Share access with unified?
The user reviews the requested scopes and clicks Allow Access.
11. Confirm the Connection
After authorization is completed, the connection appears in Unified under:
Settings → Connections
The connection should display a Healthy status.
