How to Setup Quickbooks Desktop
April 2, 2026
Quickbooks Desktop/Enterprise is a desktop application and not a web/online application, and thus needs additional setup to enable API access.
- Download QBWC (Web Connector) from Quickbooks and install the program on the same computer where your Quickbooks Desktop is running.
- Activate Quickbooks Desktop Integration in your workspace
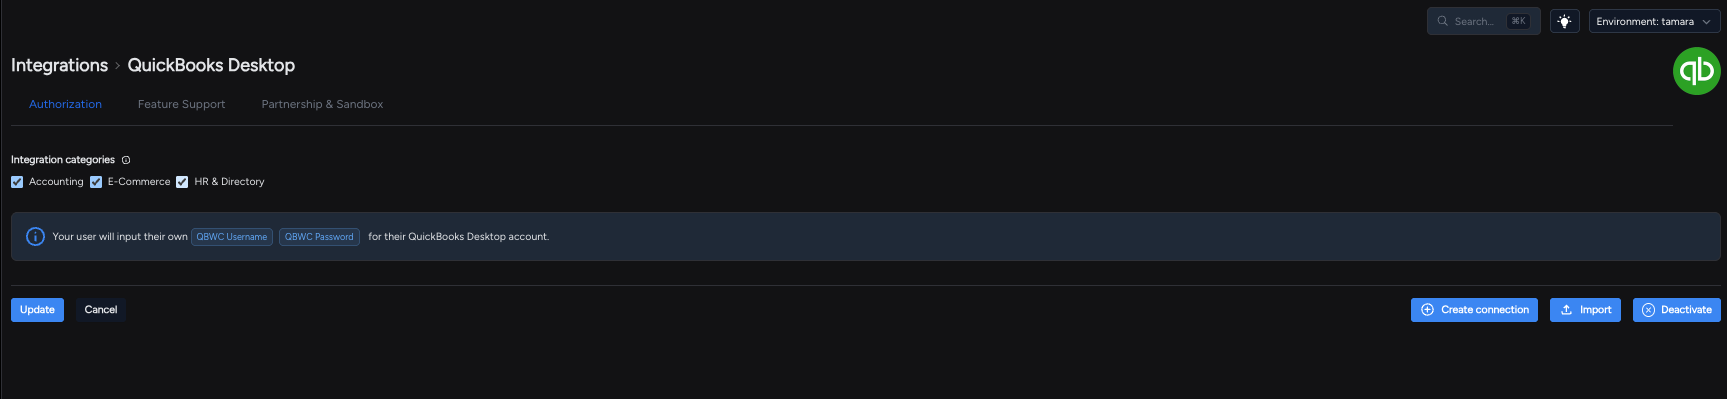
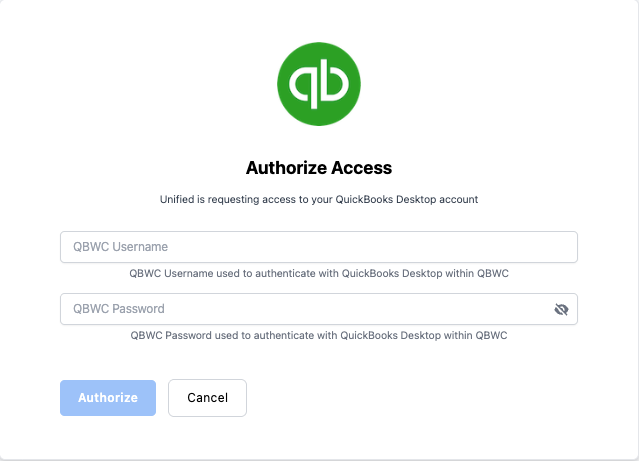
- Create a Quickbooks Desktop connection within Unified (enter your username and password you will use in the QBWC)
- Create a .qwc file, it should be in the following format:
<?xml version="1.0"?> <QBWCXML> <AppName>Unified</AppName> <AppID></AppID> <AppURL> https://api.unified.to/webhook/workspace/quickbooksdesktop?workspace_id=your_workspace_id&connection_id= your_quickbooks_desktop_connection_id</AppURL> <AppDescription>A short description for WCWebService1</AppDescription> <AppSupport> https://unified.ngrok.dev/support </AppSupport> <UserName>your_username</UserName> <OwnerID>{57F3B9B1-86F1-4fcc-B1EE-566DE1813D21}</OwnerID> <FileID>{90A44FB5-33D9-4815-AC85-BC87A7E7D1EZ}</FileID> <QBType>QBFS</QBType> <Scheduler> <RunEveryNMinutes>number_of_minutes_between_each_sync_or_remove_this_if_you_want_to_sync_manually</RunEveryNMinutes> </Scheduler> </QBWCXML> - Once the QBWC has installed, first open your Quickbooks Desktop with the company you wish to sync
- Then open QBWC and click 'Add an application', QBWC will then prompt you to select a file, select the newly created .qwc file from above.

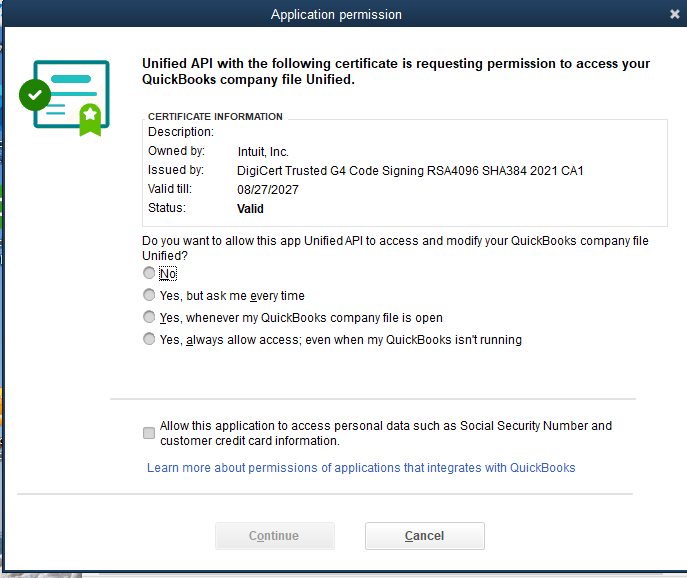
- Click 'Ok' to grant access
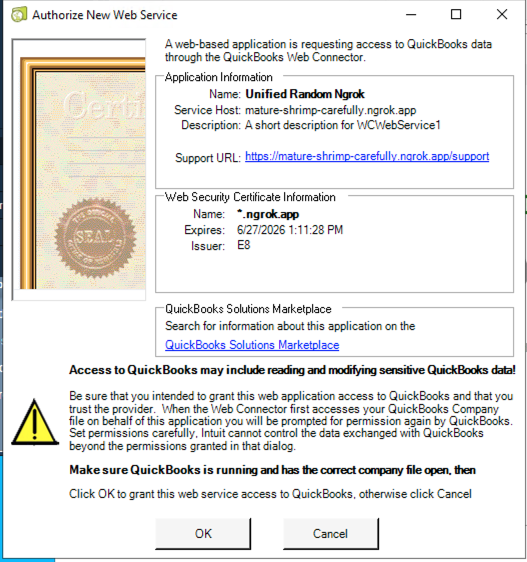
- Select 'Yes, whenever my Quickbooks company file is open' and 'Continue'
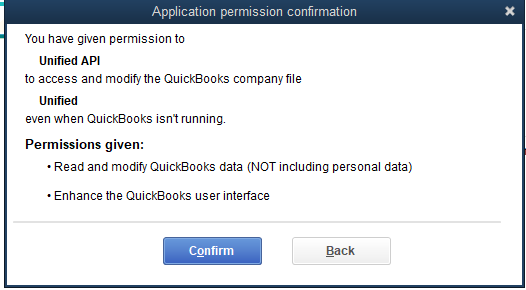
- 'Confirm'
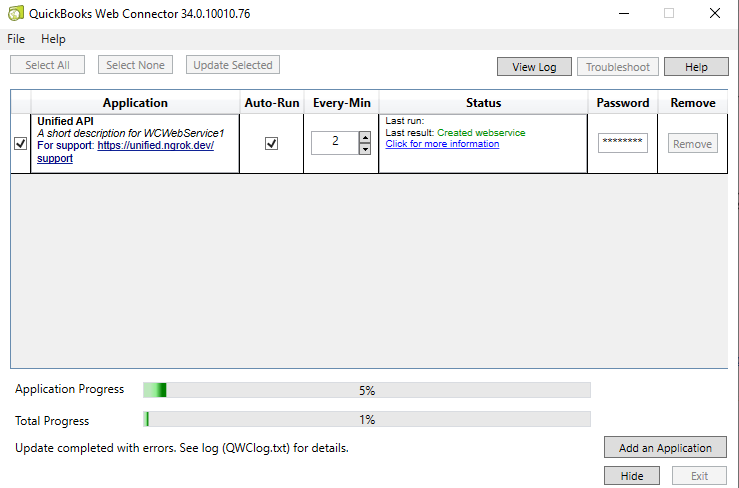
- QBWC will normally close after this, you can reopen it and you should now see the app is added. Enter the password and to perform your first sync click 'Update Selected'.