
Start Here: Getting Started with Unified.to
February 1, 2023
Unified.to is a Unified API that enables software teams to build and maintain integrations across essential SaaS categories like HR, Sales, Marketing, and Support in days instead of months (or years).
Developers gain access to common ("unified") APIs and data models that allow them to focus on their core product instead of building multiple integrations with unique APIs.
We will walk through the initial steps of getting started with Unified.to.
If you haven't already signed up for a Unified.to account, do so now (it's free). You can log in with a social provider (such as Google, LinkedIn, Discord, or GitHub).
- Activate Integrations
Once you've registered your Unified.to account, log in and go to Active Integrations to select the pre-built integrations you want to activate.
You can filter by app categories like "HR" and "CRM" or view all of them at once. The activated integrations are the ones you wish to enable for user authorization. - Use your OAuth 2 Credentials (Optional)
While most of our integrations can be activated in seconds, some integrations require OAuth 2 credentials.
To display your product's name and branding during the third-party authorization process, you will need to insert your OAuth 2 credentials. Follow the setup instructions linked below the integration to create and retrieve your credentials.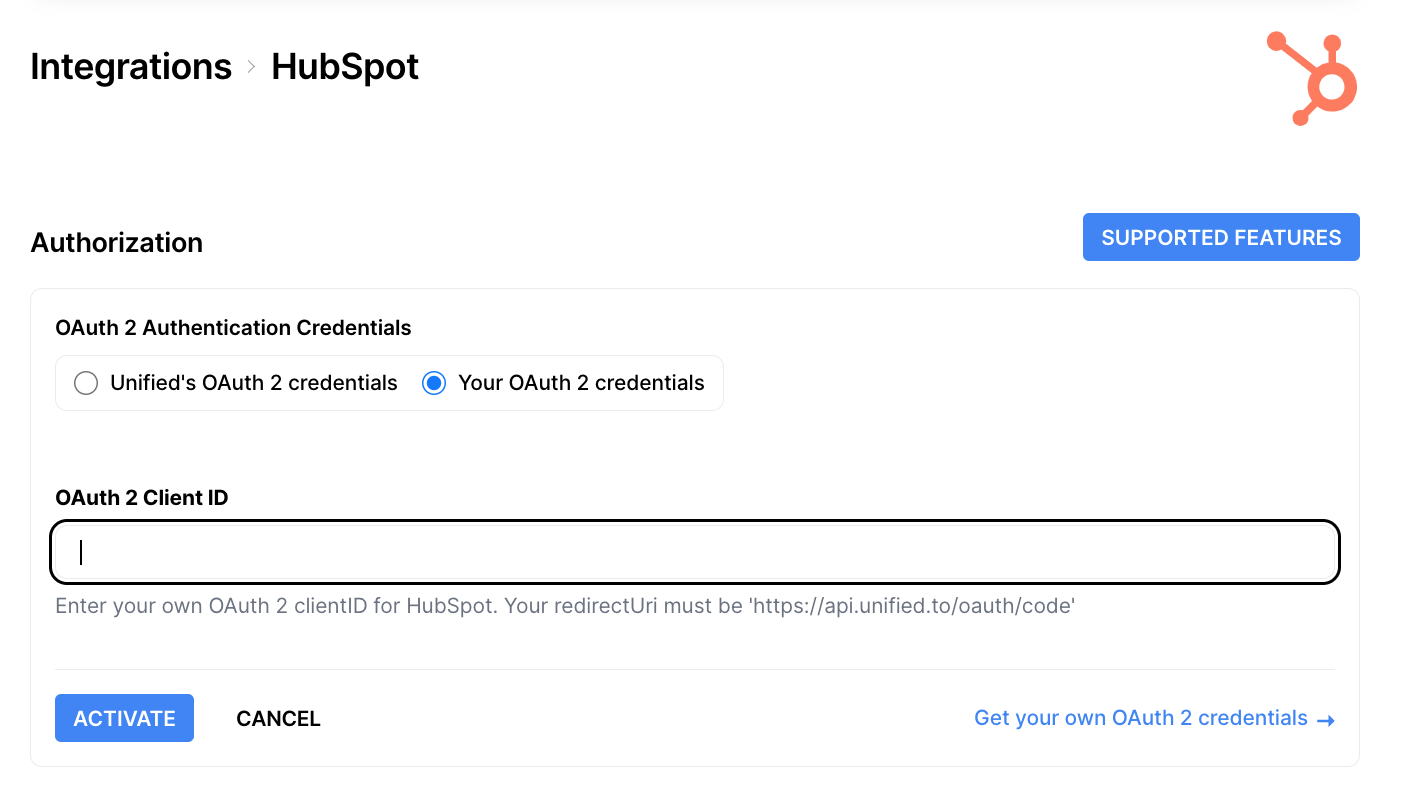
Insert your credentials (usually a Client ID and Secret) to activate the integration.
Guide: How to Generate OAuth 2 Credentials - Copy your Workspace ID
Your workspace represents your organization. You can have multiple workspaces, for instance, if you require team members to work in different workspaces.
You will need your workspace ID to add integrations to your app. Go to API Information to copy your workspace ID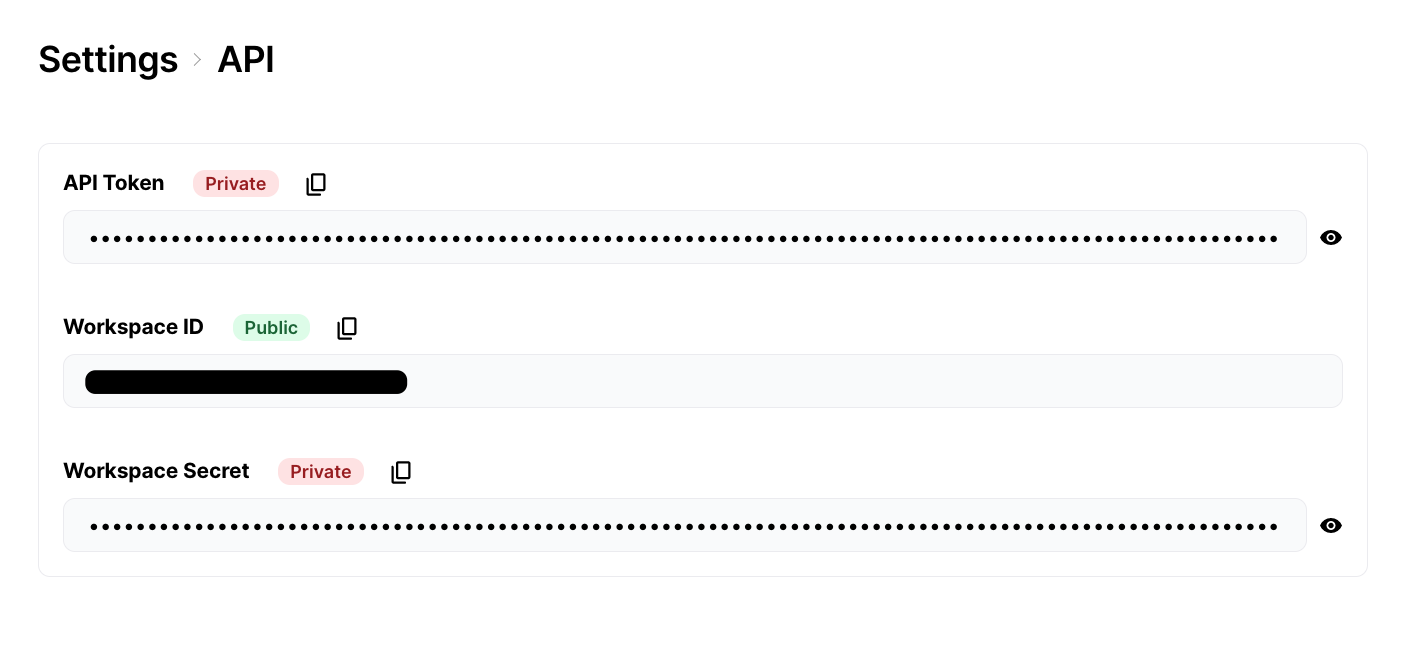
Note: you can create multiple environments in each workspace with distinct access and configuration rules for testing, staging, production, and more. - Add our integrations directory to your app
Once you've activated integrations, you'll be able to add them to your app. Go to Embed Directory and copy the directory widget Javascript code. Try out the user experience by interacting with the directory preview.
Alternatively, you can use our VueJS, Angular or React components.
Place the code into your app along with your workspace ID.
If you want an alternative to using our UI component, you can do either of the following:- Call our API to get a list of active integrations to display in your app
- If you have your user's API key or token, call our API to create a connection for that integration
- Authorize your customer
Once your customer clicks on an integration in our embedded integrations directory, they are asked to authorize account access for your company.
This happens regardless of what authentication method that the integration supports. (API key and OAUTH2)
When your customer accepts the authorization, they are redirected by to the "Success URL" that you defined in step 4. That URL will have anid={connection_id}appended to the URL. Store thatconnection_idin your database and associate it with your customer's account. You can send in astatevariable in step 4 with your customer's ID.💡 BE SURE to associate your own application's user ID / account ID with the newly created Unified connection ID. The best way is to use the
stateparameter in our embedded directory or authorization endpoint. That will be sent back to yoursuccess_urlalong with theconnection_id. Store ourconnection_idin your database and associate it with your user. - Perform Actions with your User Connections
Now you can start adding code to your app to access your user data and perform actions with their connections. If you're using NodeJS, we also have a library available.
Alternatively, you can use our Mock API to see our data model in action.. In your Sandbox environment, addenv=Sandboxquery parameter to your API calls to get mock data.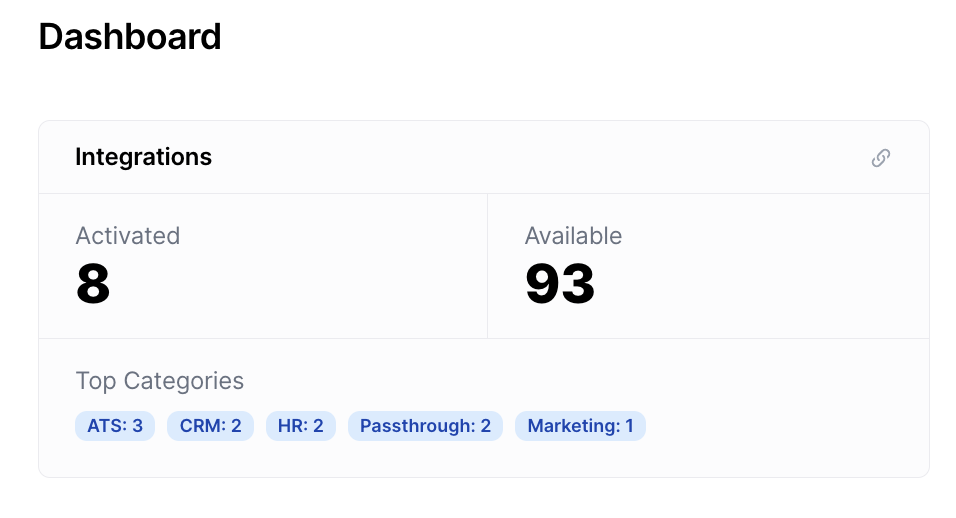
User connections represent a specific authentication of an integration, which means you can now:
- Access data (like HR or CRM information) for both reading and writing purposes
- Leverage user connections to automate workflows and personalize interactions
- Extend your app's functionality with new features and expanded capabilities
Keep learning: